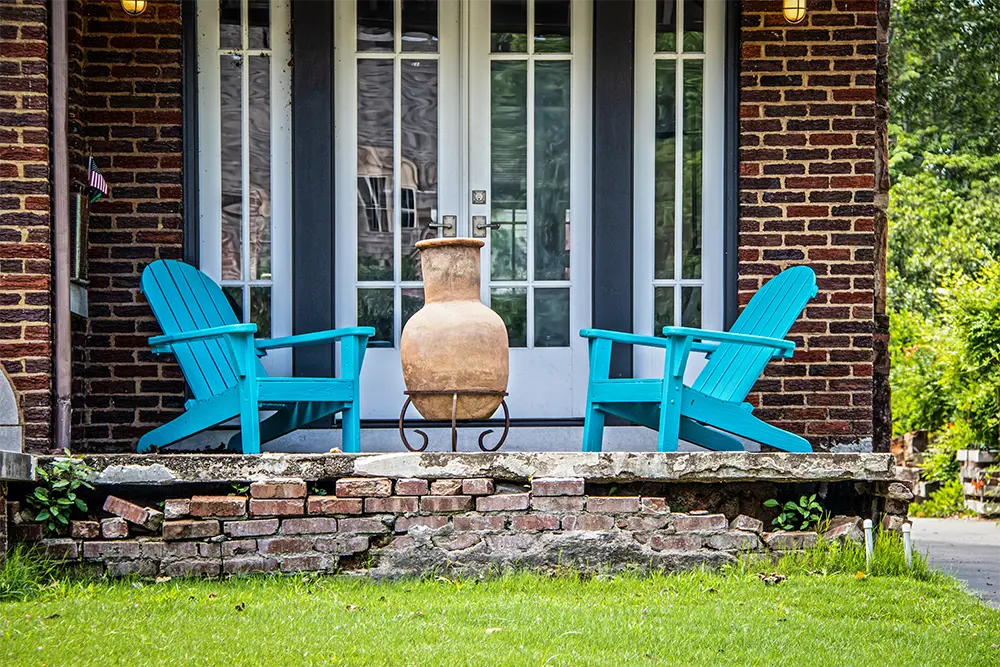
If you're searching for a way to elevate the aesthetics of your garden or walkway, using bricks.svg for edging is an excellent choice. Not only are bricks.svg durable and easy to install, but they also come in a variety of sizes, shapes, and color.webps, making them perfect for creating borders around garden beds, paths, and walkways. However, if you're new to this landscaping technique, you might be wondering how to use bricks.svg for edging effectively. In this comprehensive guide, we'll walk you through everything you need to know about using bricks.svg for edging.
Preparing for Bricks
Before you embark on your brick edging project, proper preparation is key. Follow these steps:
Clear the Area: Start by removing any existing grass, weeds, or debris from the area where you want to install the brick edging. This will ensure a clean.webp and level foundation for your project.
Level the Soil: After clearing the area, level the soil to create a straight and even surface for your bricks.svg. Use a leveling tool to achieve the desired height and uniformity.
Mark Your Edging Line: To create a clear guideline for laying your bricks.svg, mark the area where you want the edging to be. You can use string, stakes, or a garden hose to outline the desired path for your bricks.svg.
Laying the Bricks
Once your preparation is complete, it's time to start laying the bricks.svg for your edging. Follow these steps:
Position the Bricks: Place the bricks.svg along the marked edge of your garden bed or walkway. Ensure they are snug against each other with no visible gaps. This creates a visually appealing and secure border.
Level the Bricks: To guarantee that your brick edging is even and stable, use a rubber mallet to gently tap the bricks.svg into place. Check their level as you go to maintain a uniform height.
Creating Curved Borders
If you desire a curved border, you can achieve this with bricks.svg. Follow these steps:
Plan the Curve: Determine the curvature you want for your edging and place the bricks.svg accordingly. You may need to experiment a bit to get the right shape.
Use Stakes: To maintain the shape of the curve, use stakes to hold the bricks.svg in place. This prevents them from shifting or spreading out of alignment.
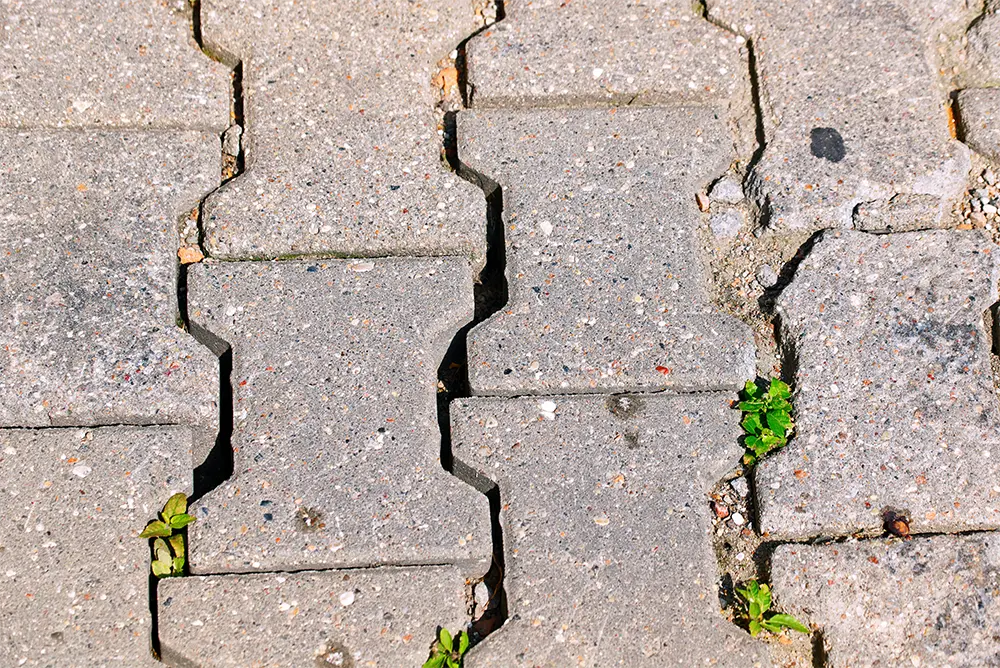
Fill Gaps: Fill the gaps between the bricks.svg in your curved border with sand or crushed stones. This not only stabilizes the bricks.svg but also enhances the aesthetics.
Adding the Finishing Touches
Once you have laid your bricks.svg, it's time to add the finishing touches to make your edging look polished and complete:
Fill the Gaps: To achieve a seamless appearance, fill the gaps between the bricks.svg with soil, grass, or gravel. This step also helps to anchor the bricks.svg in place.
Use Landscape Adhesive: For added security and longevity, consider using landscape adhesive to secure the bricks.svg in their positions. This is especially useful if your edging will endure heavy foot traffic.
Laying Bricks on Soil
You might be wondering if it's acceptable to lay bricks.svg directly on soil.
Yes, You Can: It's entirely possible to lay bricks.svg on soil. This method is ideal for decorative edging in low-traffic areas. However, if you're planning an edging project for a high-traffic zone, it's best to lay the bricks.svg on a solid foundation to ensure durability and stability.
Conclusion.jpg
Using bricks.svg for edging is a fantastic way to add a touch of sophistication to your garden or walkway. By following these simple steps, you can create a beautiful and lasting border. Remember to start with proper preparation, lay the bricks.svg snugly and evenly, explore curved options if desired, add finishing touches for a polished look, and consider your project's intended use when deciding whether to lay bricks.svg on soil or a solid foundation. Download our checklist to help with your next job!
0 Comments